We may receive a commission when you use our affiliate links. However, this does not impact our recommendations.

Assembling the Boxes
Part 1 • Part 2 • Part 3
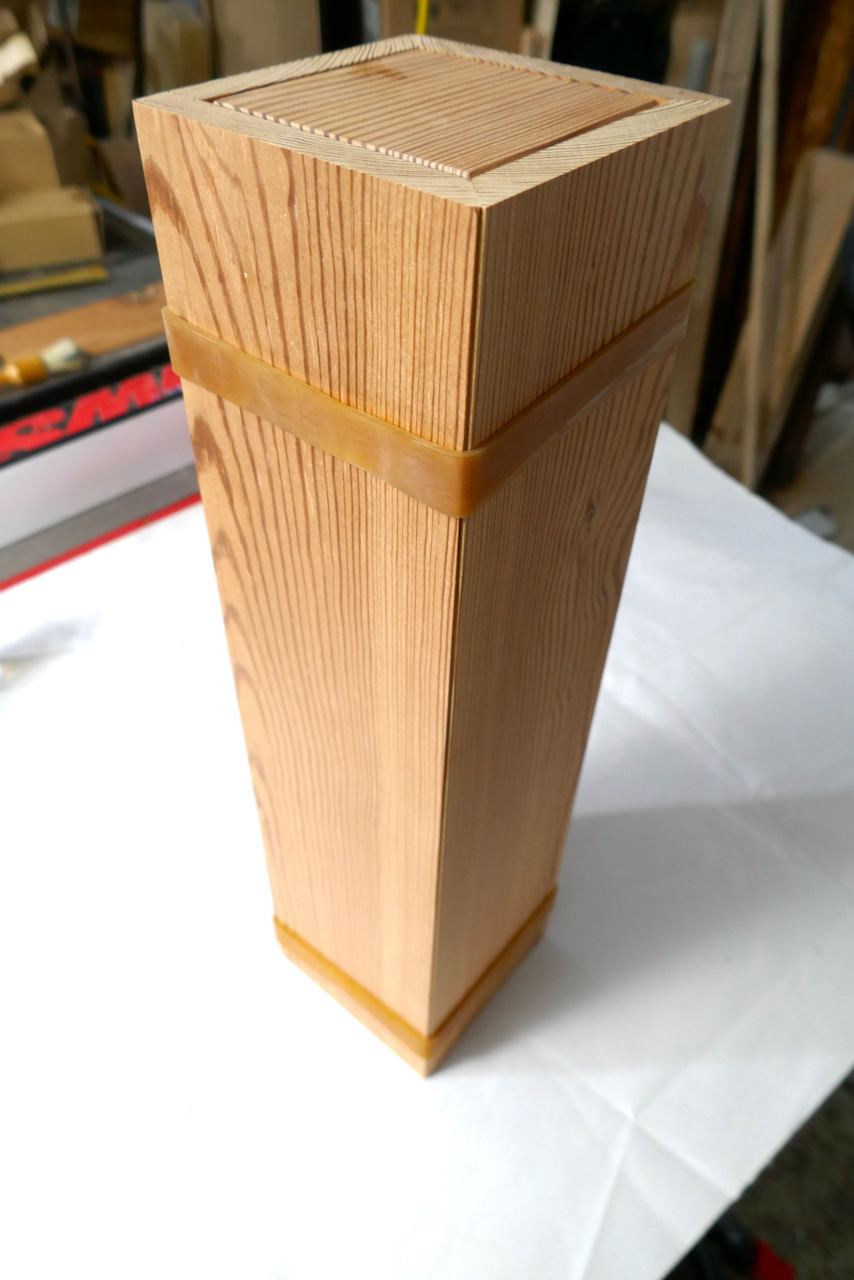
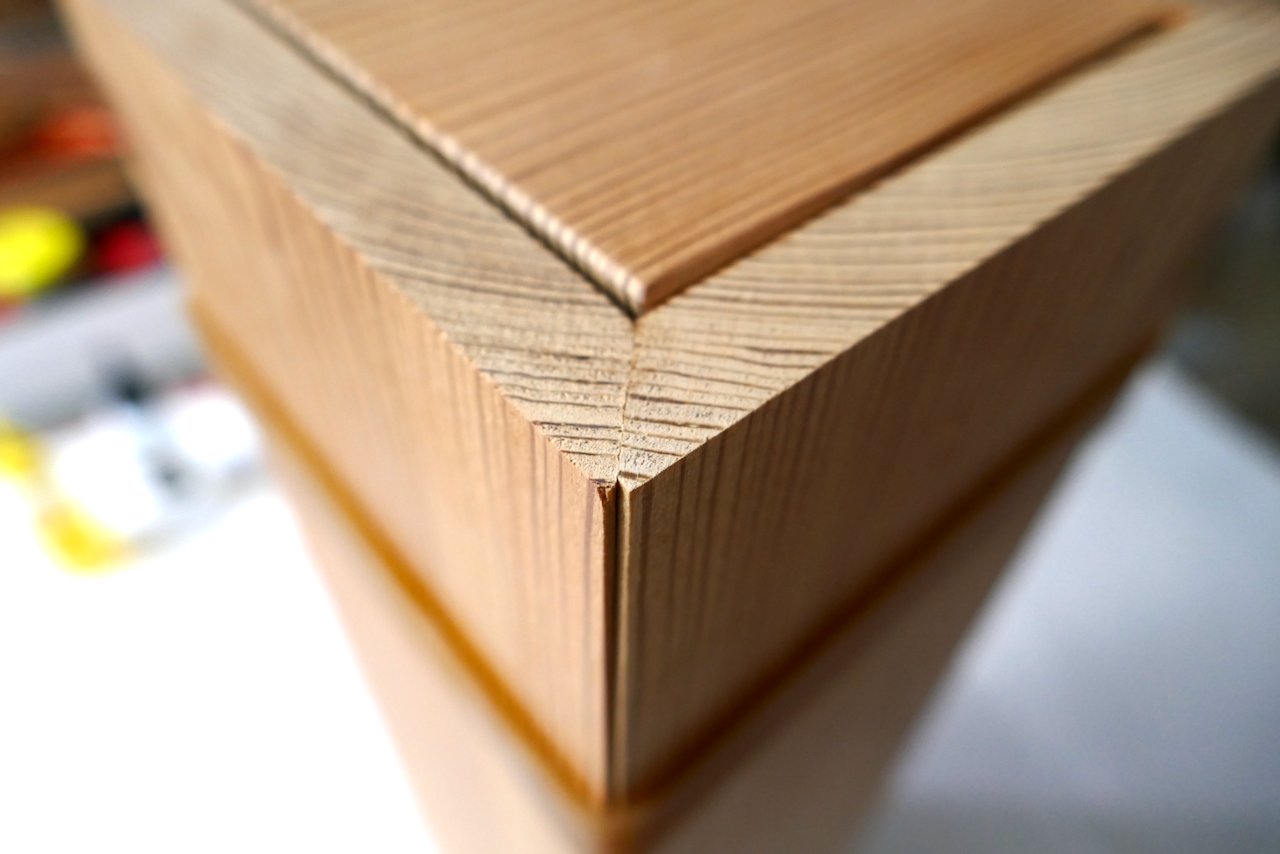
With all the components of the three boxes completed and their joints fitted, I staged the assembly using wide rubber bands to check alignment and fit. Once satisfied, I disassembled the boxes and applied four coats of wipe-on polyurethane to the interiors.
Pre-finishing the interior faces of furniture parts is a practice I highly recommend. It spares you from the headache of finishing in tight, awkward corners after assembly. However, this approach comes with its own challenges—like dealing with glue seepage during assembly. If glue seeps out during the glue-up process, it needs to be removed once dried, followed by sanding the affected area and patching up the finish to restore an even appearance. Between these two scenarios, I’d rather address glue seepage than wrestle with finishing tight spaces.

Glue-Up Preparation
Over the years, I’ve learned the value of strong tape as a clamp for assembling mitered box joints. My go-to options are StewMac’s Brown Binding tape or 3M’ Binding tape from Lee Valley. These tapes outperform generic masking tape with their superior strength and adhesive qualities.
To prepare for gluing, I reassembled the box using rubber bands and secured the corners with binding tape placed close to the edges. I left one edge untaped so I could open the box fully and lay it flat for glue application. Additional masking tape was placed between the base and top for added stability.


Gluing the Joints
The choice of adhesive often depends on the nature of the joint. For this project, I opted for 30-minute epoxy, which offers a long open time for precise adjustments and fills gaps effectively.
Using thin foam brushes, I carefully applied epoxy to the mitered edges, leaving the last ⅛” of the edge free from glue to reduce seepage into the interior. Exterior glue seepage was less concerning, as it can be sanded off after curing. Interior seepage, however, would require meticulous removal of dried glue, followed by sanding and patching up the finish.
I also applied epoxy to the tongue-and-groove joints, securing the tops and bases. After applying the adhesive, I folded the box into shape, aligned all parts carefully, and secured the structure with a final row of masking tape. 


What’s Next?
In the next installment, I’ll share how I designed, shaped, and glued the metal bands that complete the Art Deco aesthetic of these boxes. Stay tuned!

Product Recommendations
Here are some supplies and tools we find essential in our everyday work around the shop. We may receive a commission from sales referred by our links; however, we have carefully selected these products for their usefulness and quality.
