We may receive a commission when you use our affiliate links. However, this does not impact our recommendations.

Installing the metal band.
Part 1 • Part 2 • Part 3 • Part 4
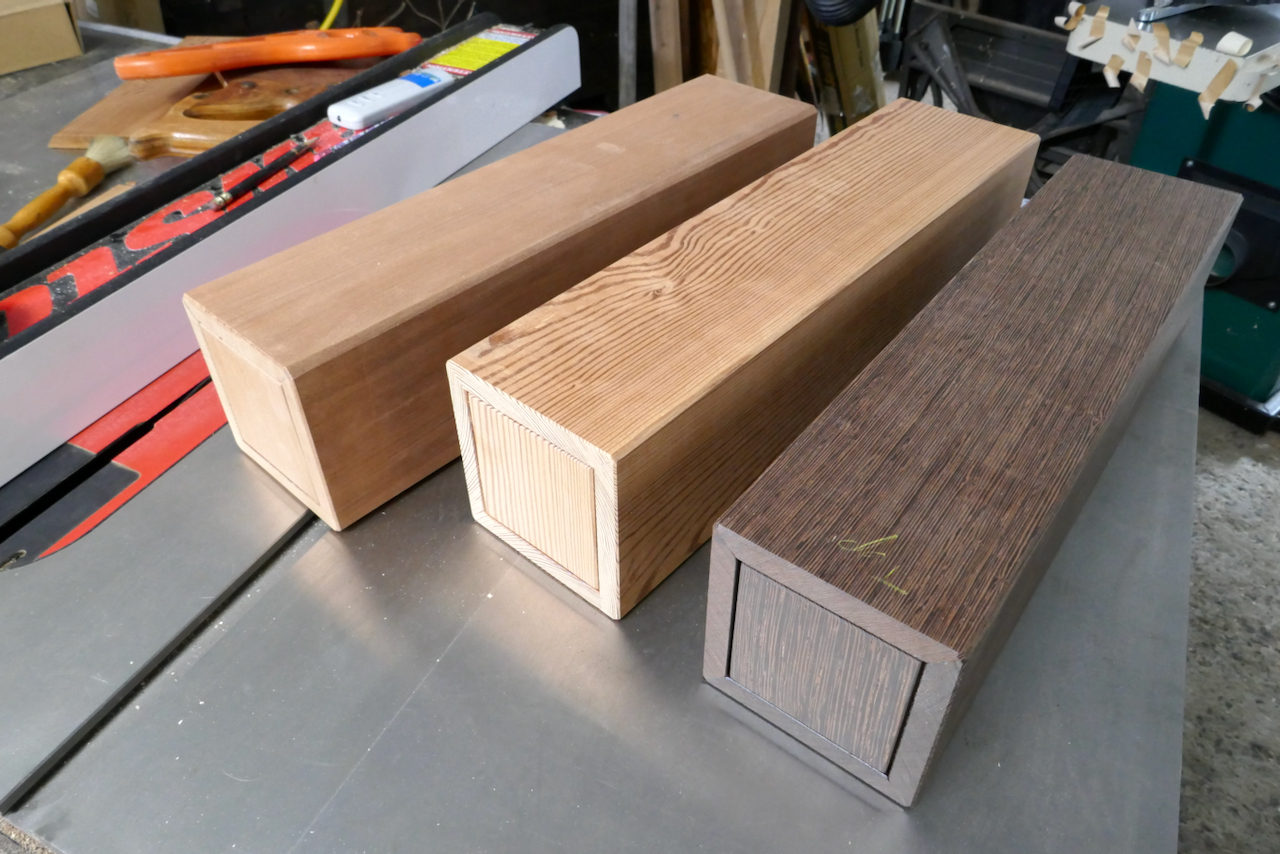
In the previous chapter of the Megillah Boxes series, I shared the process of creating long-grain to long-grain mitered boxes and delved into my gluing and clamping techniques. Once the epoxy had cured, I set to work shaping the chamfers of the boxes. Planing the Redwood and Heart Pine boxes was straightforward, but the Wenge box presented a challenge. Wenge is notoriously difficult to plane, so I turned to my trusty Lee Valley low-angle plane with its outstanding PM-V11 blade.


 The Brass Strip
For this project, I envisioned a decorative brass band encircling the top third of each box. This design element serves as a visual focal point, a structural band to secure the box, and a transitional detail, drawing the viewer’s eye toward the lid. The brass wire (as it’s termed in the industry) I selected comes from Potter USA, a remarkable family-owned business based in Arizona.
Potter USA specializes in reviving historical metalworking dies, many of which were originally used in 19th and early 20th-century jewelry production. They acquire these dies from shuttered factories, mills, and warehouses, then repurpose them to emboss intricate patterns onto soft metals like brass, copper, and silver. Among their offerings are stunning Art Deco designs, which perfectly matched the aesthetic I envisioned for my boxes.
After speaking with Vincent Potter, I received images of potential patterns from their Cranston Fancy Wire Co. division. I chose three ornate brass strips, one for each box. These strips were approximately ¾ inch wide and quite thick. However, when they arrived, I noticed they had a slight arc—likely a byproduct of the pattern rolling process.

Vincent recommended annealing the brass and straightening it on an anvil. I took his advice a step further by creating a ¾-inch groove in a sturdy ash board. After annealing the brass with a torch, I pressed it into the groove, which successfully straightened the strips. For anyone considering a similar project, I suggest asking Potter USA for verified straight wire, even if it comes at a slightly higher cost—it’s well worth the convenience.
Adding Depth to the Brass
To enhance the visual appeal of the brass, I applied a layer of gun blue and polished it with steel wool and a polishing compound. This process gave the brass a striking depth and richness.


The Cranston Fancy Wire Co. catalog evolves frequently, with new items added and older ones retired. Contact Vincent for sample images or custom reproductions—they’re a small but growing family business with excellent service and craftsmanship.
Preparing the Box for the Brass
After measuring the width of the brass strip, I milled a shallow dado around the necks of the boxes to accommodate it. To ensure a smooth fit, I used a narrow carbide scraper to refine the groove and filed the dado corners to a rounded profile, making it easier to bend the brass around the box edges.
In the next chapter, I’ll detail the process of fitting and gluing the brass strips into the dado.


Resources

Product Recommendations
Here are some supplies and tools we find essential in our everyday work around the shop. We may receive a commission from sales referred by our links; however, we have carefully selected these products for their usefulness and quality.
